menu
Trustpilot
Search

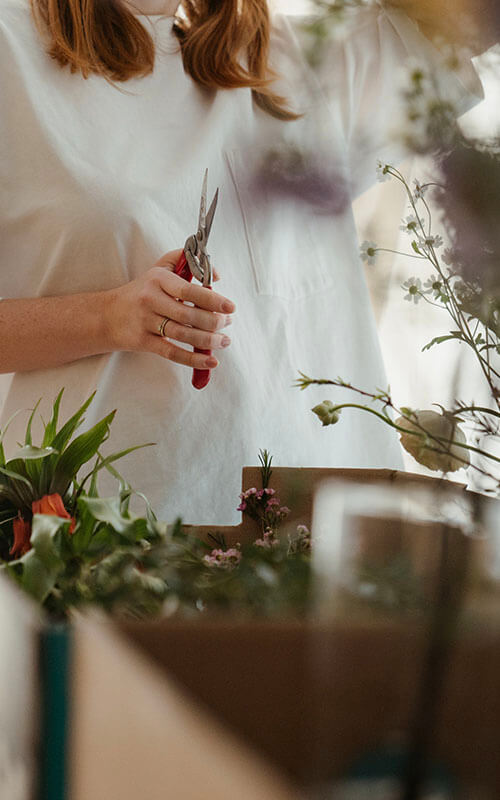
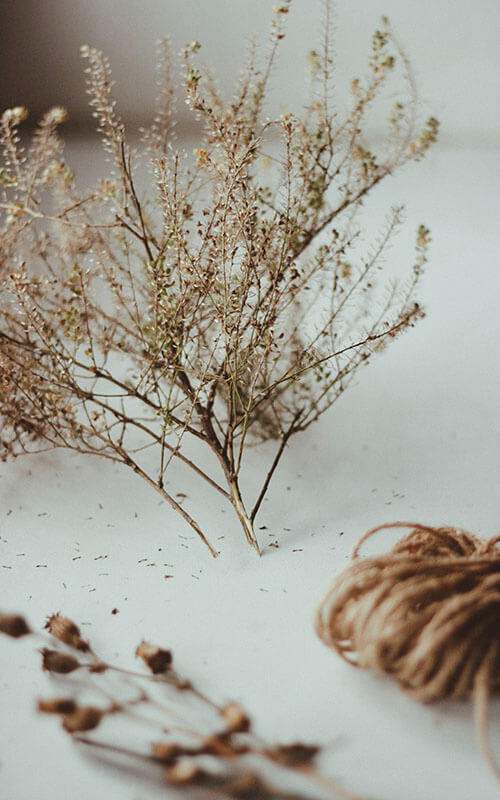
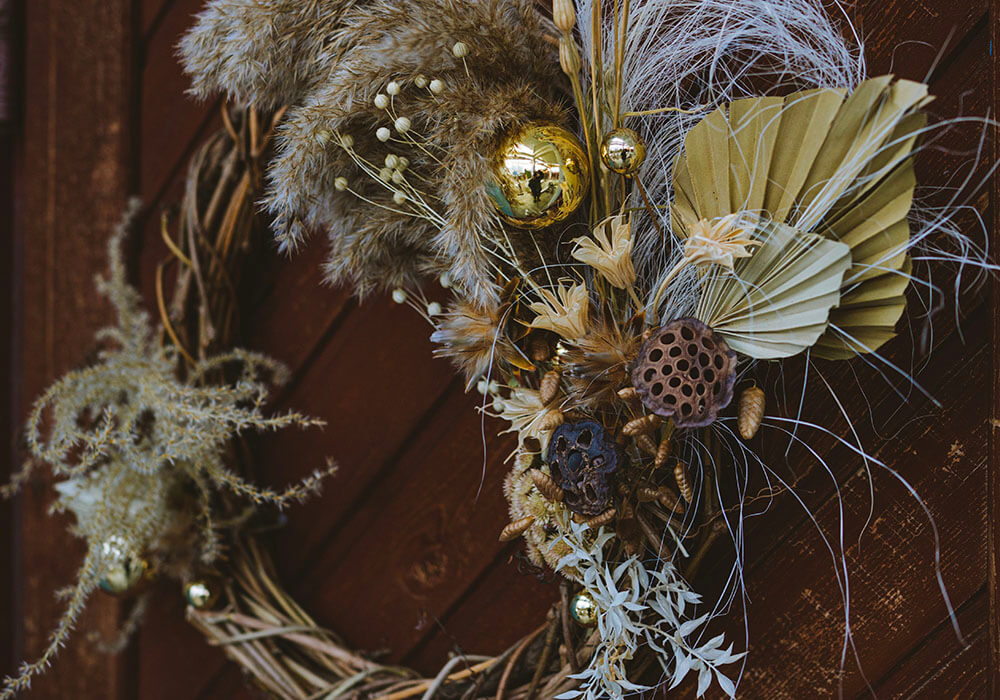
How to Make a Dried Flower Wreath

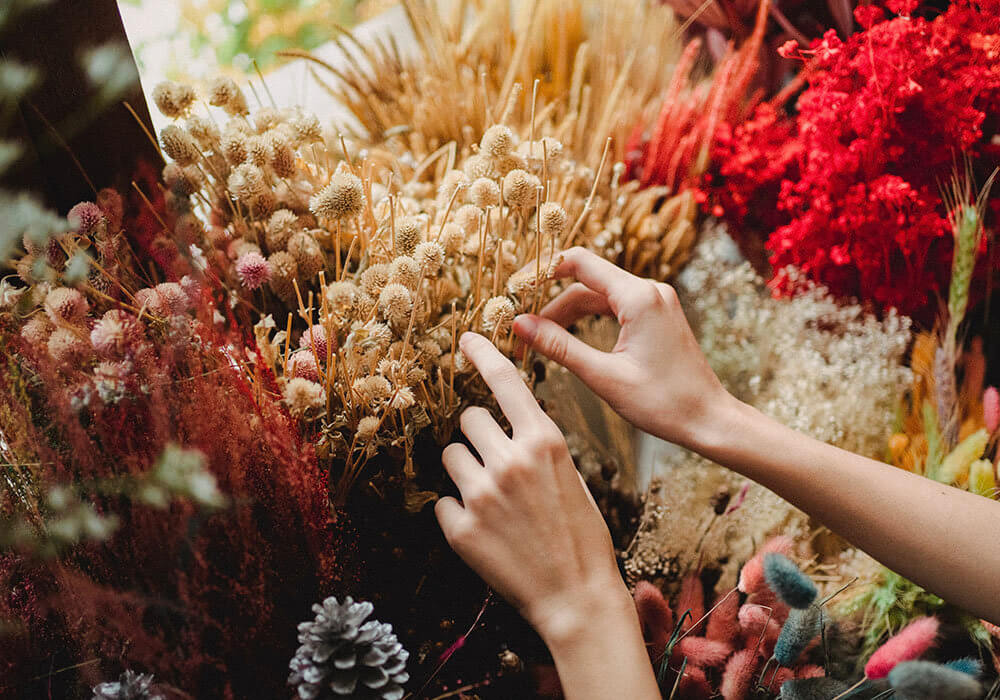
Using what nature gives us for our homes is a wonderful, and often cost-effective, interior decor trick. We’re huge fans of beautiful dried flowers when styled with passion and style. What better way to use those dried flowers than making a gorgeous wreath! These floral hoops are traditional but remain hugely popular, with endless personalisation to display, plus they’re easier to create than you’d think! So, today we’re taking a look at how to make a dried flower wreath.


Step 1 : Gather your chosen florals, tools and materials.

Some great wreath flower types to use include:

  • Roses
  • Pansies
  • Hydrangeas
  • Lavender
  • Lagurus
  • Larkspurs
  • Yarrow

But get creative and use whatever will best suit your style!

You’ll also need the following tools:

  • small secateurs
  • garden or kitchen scissors
  • pliers
  • floral wire or garden twine
  • a hoop of your choosing – rattan hoops, grapevine wreath, pliable willow or hazel all work particularly well (These can generally be purchased from good garden product suppliers). If sourcing these is proving difficult a couple of tightly bound slim branches that’ve been foraged will work nicely.

Step 2
Grab your hoop, or bend your pliable willow/hazel/branches into a hoop, it doesn’t matter if it’s not entirely symmetrical. Tie with the wire/hoop to secure into place. The pliers will come in useful here for bending into shape.

Step 3
Prep and organise your longest stemmed florals to insert first. Bunch these together and trim down stems where necessary using the secateurs.


How To Make A Dried Flower WreathImage 1

Step 4
Then begin intertwining the singular whispier stems to the base (ensure to leave some large whispier stems for the last steps). For the more rigid ones you’ll now need to begin tightly securing them using both nimble strong fingers and the pliers. Pay special attention to secure these first stems as they will form the basis of your wreath, the beauty of this stage is you can easily undo any missteps made.

Step 5
Attach the bundles made earlier on in step 3, use the floral twine/wire and pliers if necessary to insert attach to the hoop. Make special effort to do so evenly all the way around. Keeping an even balance will mean it doesn’t appear too weighted on one side. Don’t bury your dried  flowers, nor let them splay too wildly – you’ll find your balance!

Step 6
Finesse your dried flower display with last additions of colour and texture, long and striking florals/stems look the nicest nested lastly, in many cases.

Step 7
Preserve. Read both our articles on how to dry flowers and how long do dried flowers last for tips on preservation. Our go-to is using odourless hairspray, helping to give rigidity and ultimately a longer life to your dried flower display.

Step 8
Hang and present! Use a nail or create a suspension tie from the twine. Think about the space it will occupy and play with the rotation of your dried flower wreath for personalised results. Lastly, enjoy your gorgeous new floral display!

crafting-a-dried-flower-wreath

Wanting to find out more about dried flowers? We’re obsessed with these wonderful natural home decor boosters and the gorgeous textures and colour they offer. If seeking out more about this topic, we’ve written a ‘How-to’ series of articles covering the subject. Including the following guides:


Share

Discover

Beautiful tips, hints, news and trends from Inside Out Living

Sign up to our newsletter

By subscribing you agree to our Terms & Conditions and Privacy & Cookies Policy.

By subscribing you agree to our Terms & Conditions and Privacy & Cookies Policy.