A Complete Guide to How to Dry Flowers
Summer is a glorious time of year with its dry weather, boundless energy and endless high-definition natural colours to enjoy, it’s only normal that come the end of the season it can leave us all a little exhausted! Thankfully, autumn steps in to provide the perfect remedy; cosy nights spent indoors with close company, warming food/drink and that nesting-into-your-space feeling. It’s therefore important to consider how the inside of our homes should reflect the changes outdoors. We think a fabulous way to achieve gorgeous autumn/winter decor is with dried flowers. Some opt to create their own displays with bunches left over from the summer, for example, using the vibrant hues of last season repurposed for this season. Today we take a look at how to dry flowers, the process behind it and what you can expect should you choose to dry your own.
Preparation – Decide which process to follow.
Dried flowers can create a beautiful display for interiors, offering that all important natural world element to a living room, dining room hallway or even bedroom. They work especially well come the autumn and winter months, with majestic faded colours that suit many homes adding intrigue and texture. However, when deciding to go it yourself it’s important to factor in which type of flowers you’re using.
If using larger more full-bodied blooms/types – hang dry!
If your floral choices are with full-bodied blooms like sunflowers, roses or large petal florals, as well as bouquets, then hang drying is the best option to follow. This process is a distinctly longer timescale approach.
If using delicates and smaller florals – microwave!
We know! The microwave isn’t an obvious piece of equipment that springs to mind when first considering how to dry flowers! However, it does the trick for how to dry flower petals and singulars – like daisies, pansies tulips or lilacs. This process also retains a colour nearer to that of the original, too. A word to the wise – don’t use the microwave container for food again!
Hang Drying Method
Hang Drying – Step 1. Gather The Equipment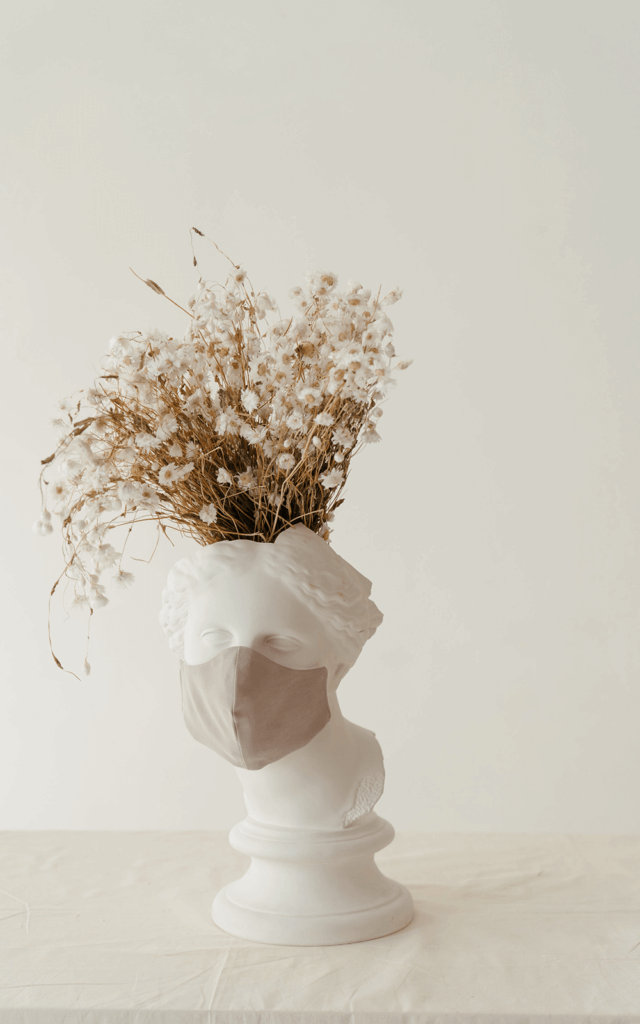
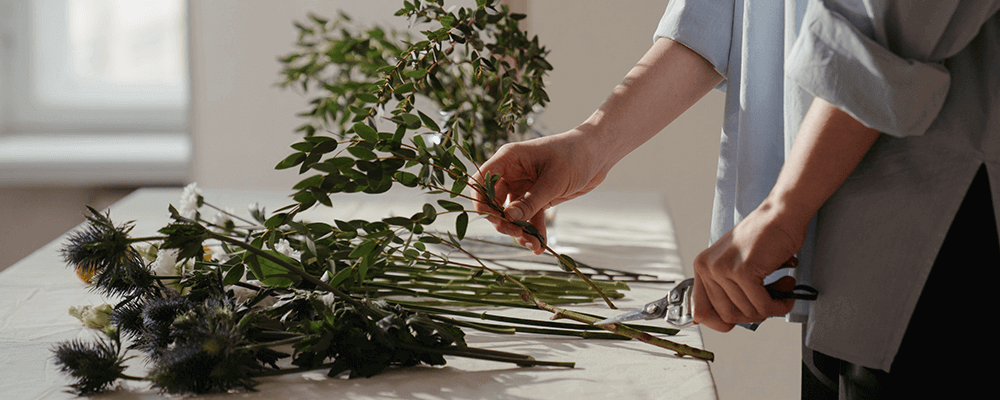
So, you’ve decided to go with hang drying. Firstly, source some twine, string or even unscented dental floss. Additionally, you’ll need a heavier duty line like an offcut of washing line or strong string, this is to hang the bouquets from. Lastly, you’ll need small garden clippers or kitchen scissors, if the stalks are thorny consider using gardening gloves.
Hang Drying – Step 2. Trim Down The Stalks
Before bunching individual stalks together, or if your bouquet is especially large, it’ll need stripping down. Take the clippers/scissors and trim off all excess leaves, thorns and general foliage.
Hang Drying – Step 3. Tie Together
Ensure you’ve got your arrangement as you intend to have it once it’s all dried. Grab
your twine, string or floss and tie together tightly towards the bottom of your bunch.
Hang Drying – Step 4. How To Dry Out Flowers
Choose the appropriate room to hang your flowers. This room must be cool, dry and as dark as possible, this will ensure your flower bunches don’t unduly fade, overheat or shed petals. Have your offcut washing line or string elevated and ready, now use the twine/string and attach your bunches securely to the line ensuring to hang the flowers evenly.
Hang Drying – Step 5. Wait!
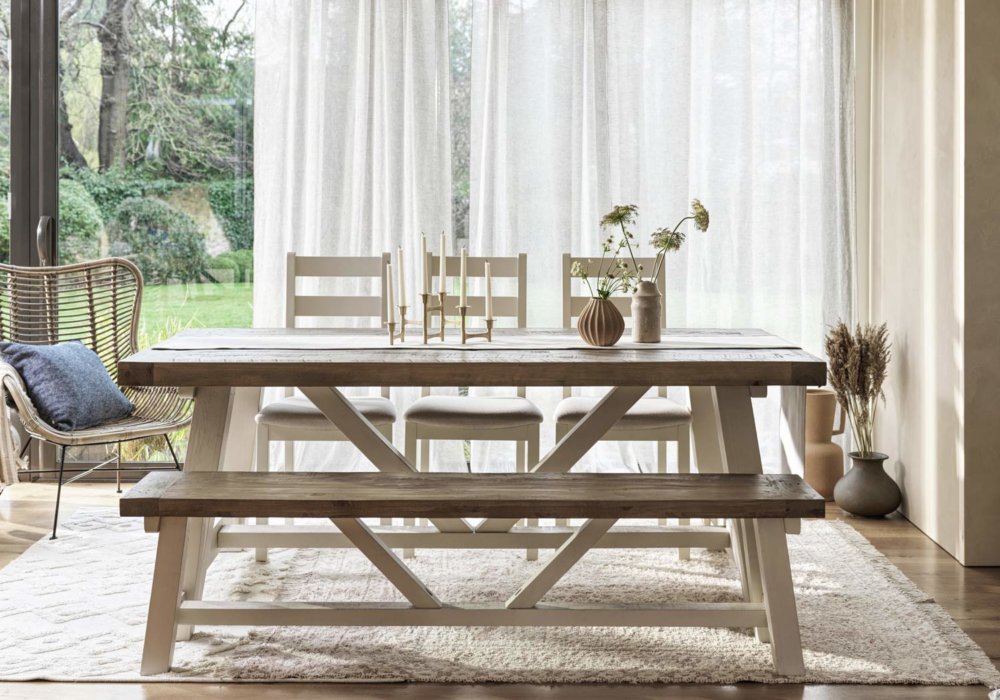
For best results leave your hanging bunches for 3 to 4 weeks! When done these will make superb autumnal displays placed in a well chosen vase . As a rule of thumb never expose your dried flowers to direct sunlight for any prolonged periods of time, you can expect your dried flowers to last 1-3 years!
Microwave Drying Method
Microwave Drying – Step 1. Gather The Equipment.
Wondering how to dry out flower petals – this is it! As touched on earlier this method is great for singular petals and smaller florals. To use this approach you’ll need to source a microwavable container with lid, silica sand, one match stick cut into quarters and a small fine bristle paintbrush.
Microwave Drying – Step 2. Pour the sand submerge the flowers.
Grab your microwave container, fill half-way with the silica sand. Carefully place in your chosen flowers/petals, then pour the remaining sand so that the florals are completely submerged. Leave the lid off.
Microwave Drying – Step 3. Microwave!.
Place in the microwave with the lid off and microwave for a total of anywhere between 3-5 minutes depending on how robust your chosen petals are. Remove after a minute and then incrementally every 30 seconds or so to check on progress.
Microwave Drying – Step 4. Remove, partially open and wait!.
When ready, remove the container and open the lid a crack, enough to wedge in the quarter matchstick (about a quarter of a centimeter). Now leave the container for 24 hours, preferably in a cool dry place.
Microwave Drying – Step 5. Brush off and dispose of the sand
When returning to the container open and carefully brush away the silica sand from your petals being attentive to remove carefully – consider using small tongs. Dispose of the used sand.
Microwave Drying – Step 6. Style in your vision!
Style in a small vase or go a step further and press (use a heavy book) and then frame. The same applies to microwave dried flowers in that you shouldn’t expose your dried flowers to direct sunlight for any prolonged periods of time, keep in cool darker conditions and you can expect your dried flowers to last anywhere in the region of 1-3 years!
Consider pre-chosen dried flowers
The above two methods are the most popular in achieving your own dried flowers, there are other methods including pressing using old books, ‘crystalising’ in glycerin resin and even wax coating. However, if time is of the essence or sourcing the selection of florals is a trickier process than you’d imagined, there is a wonderful world of pre-chosen and pre-prepared dried flowers to peruse. Through Inside Out Living you’ll find a hand curated array of dried flowers, including selections of Phalaris grasses, dried stems and beautifully textured bouquets– perfect for autumnal home decor displays or dried flower gifts. The convenience is alluring as these all come wrapped in protective tubes. Whichever route you take to your ideal dried flower display, we hope our guide with how to dry flowers was of use in making your decision.