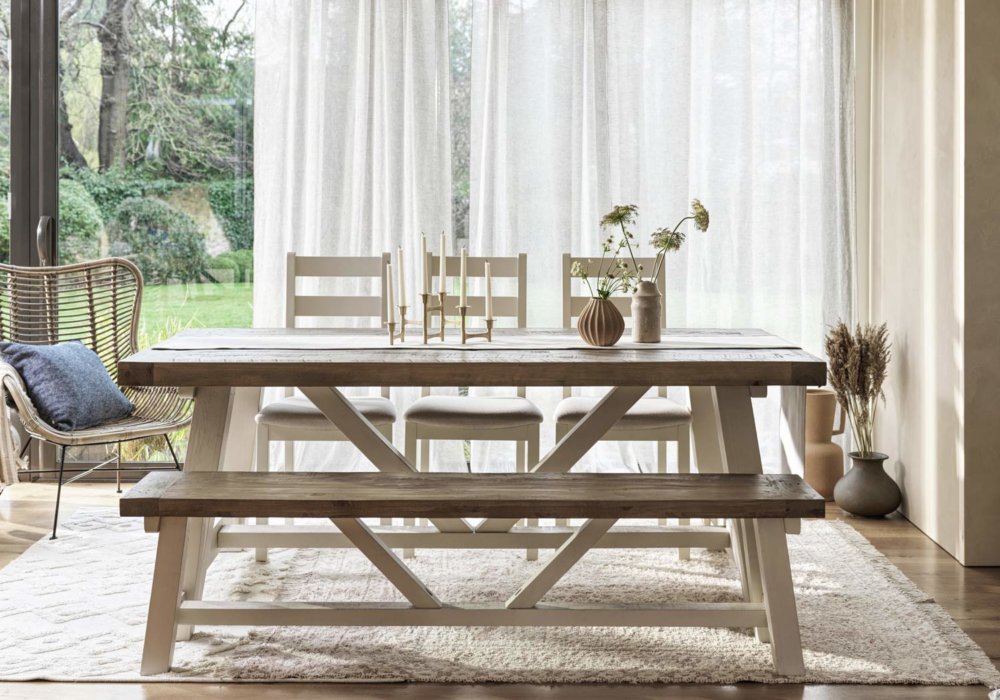
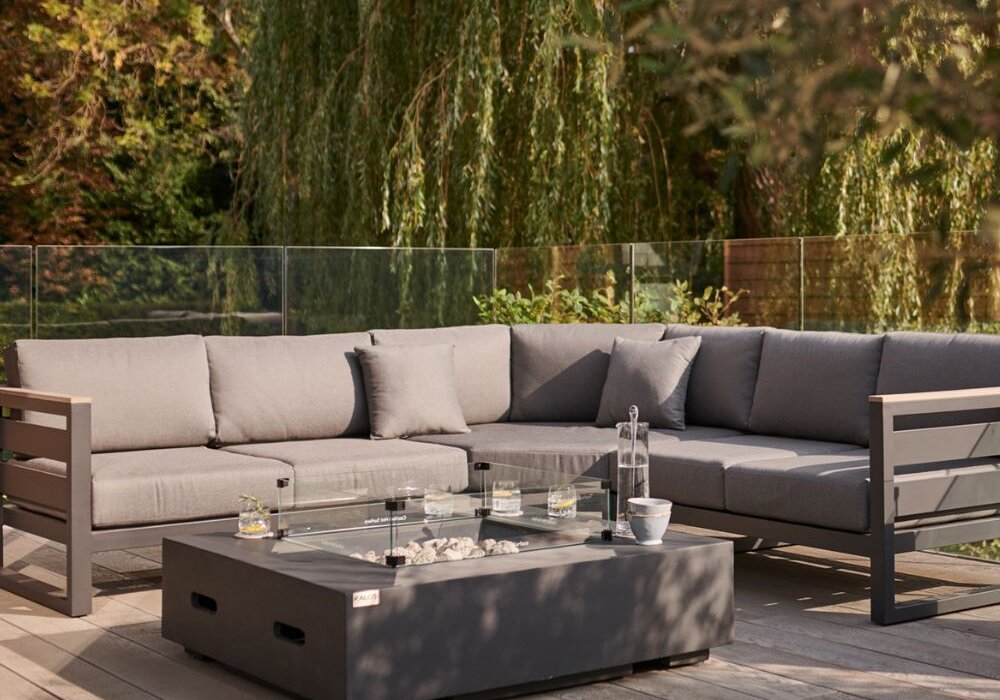
A Bramblecrest cushion box provides year-round protection for your favourite outdoor cushions, keeping them protected from the elements and ensuring they maintain their high quality. Aside from its practical usage and stylish appearance, a huge benefit of a Bramblecrest cushion box is that it’s effortlessly simple to build. With no complex instructions involved, you can build your Bramblecrest cushion box in 7 easy steps. It’s easiest to do with two people, or at least have somebody handy to help with steps 3 and 4. Here’s how it’s done:
1. Unpack The Box And Layout The Parts In Order
Before you start building your Bramblecrest cushion box, you’ll need to clear a flat surface in the garden where you can start building. A clutter-free space on the lawn or patio is perfect for this. Once you’ve chosen your location, the first stage in construction is to unpack all the parts and lay them out on the ground in order. Check to make sure you have the following items:
- Left panel
- Right panel
- Back panel
- Front panel
- Lid base
- Screws
- Allen key
- Metal base
- Water-resistant liner
Setting aside the liner, metal base, screws and allen key, start by aligning the panels. Align the back panel with the hinges, the left panel with the upper piston tab closest to the back panel, and the right panel with the upper piston tab closest to the back panel.
2. Screw Side Panels Into Back Panel
Once you’ve got all major components arranged, the next step in building your Bramblecrest cushion box is to screw the side panels into the back panel. When doing this, you’ll want to pay close attention to ensure that the velcro strips align. At this stage you want to affix the screws loosely, leaving enough room to adjust at a later stage if necessary.
3. Lower Unit Into Front Panel
Once you’ve assembled the side panels and back panels together, you need to lower the unit into the front panel. The easiest way to do this is to have one person standing on either side to lift and lower the unit in one movement. Remember that the screws are still loose at this stage, and so take care when moving it. Once lifted and aligned onto the front panel, affix the screws loosely as you did previously.
4. Lower Into The Lid
Now all the panels are fixed together, it’s time to lower the assembled unit into the lid. Again, make sure that there’s two of you doing this so that you can lift the box from either side. Once you’ve aligned the panels with the lid, fix the screws in place as required. At this stage, your Bramblecrest cushion box is almost complete, with just a few final touches to finish it off.
5. Stand Box Upright & Attach Piston Levers
At this stage your Bramblecrest cushion box will be face down with the lid at the bottom. So, you’ll just need to turn it upright so that the lid is at the top. This will allow you to attach the piston levers. These extend from the lid to a notch on the side panel and are fixed with screws.
6. Tighten All The Screws
Throughout the building process, all screws will have been fixed loosely so that they can be adjusted if necessary. Now that all the parts are assembled correctly, it’s important to go around and tighten all the screws to ensure all components are securely in place. This will be easy to do using the allen key provided.
7. Lower In Metal Base & Attach Water-Resistant Lining
To complete the building of your Bramblecrest cushion storage box, all that’s left to do is add the final components. Carefully lower in the metal base and then attach the water-resistant lining using the velcro strips. It’s the water-resistant lining that offers that extra level of protection from the elements, keeping your contents safe and sound.
All that’s left to do is kick back with a cuppa and admire your hard work! All of our garden furniture and accessories come with instructional pamphlets, however for more guidance and tips on building your Bramblecrest cushion box, please don’t hesitate to get in touch with us.